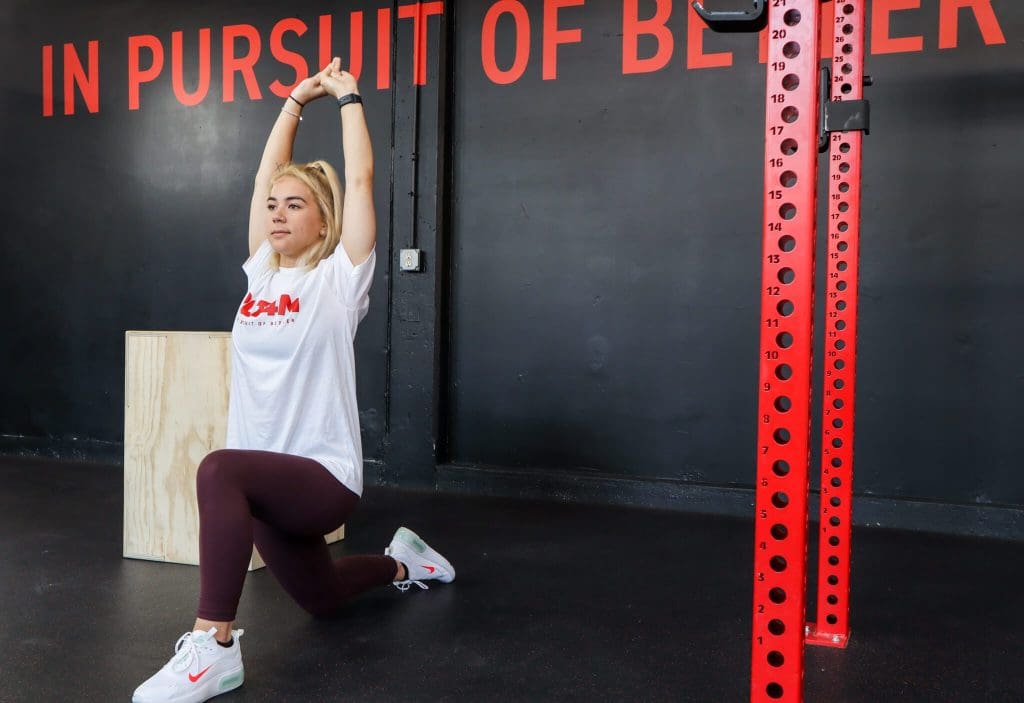
Stretching routines for flexibility are essential for keeping your body flexible, strong, and healthy. Regular stretching helps to improve your range of motion, reduce muscle tightness, and support injury prevention. Whether you’re looking to improve your flexibility for a specific sport or just to improve your overall health, there are a variety of stretching routines that can help you achieve your goals. In this article, we will explore three stretching routines for flexibility and how to incorporate them into your daily routine.
What Is Flexibility?
What is flexibility? Isn’t it just another word for mobility?
While a common misconception, flexibility and mobility are NOT the same thing. Flexibility is in fact one element of Mobility. While mobility focuses on the intentional movement of a joint through its full range of motion (with control), flexibility refers to a muscle’s ability to stretch beyond its normal resting state. Therefore, flexibility can certainly be said to be a prerequisite for good mobility.
Stretching routines for flexibility aim to improve our flexibility through the use of static stretching. Why? Muscles all have a set length, but for a myriad of reasons like injury or poor posture, they often lose the ability to stretch to full length.
Therefore, stretching routines for flexibility aim to take the first step toward improving joint mobility by ensuring that our muscles can stretch to their functional limits.
3 Free Stretching Routines For Flexibility
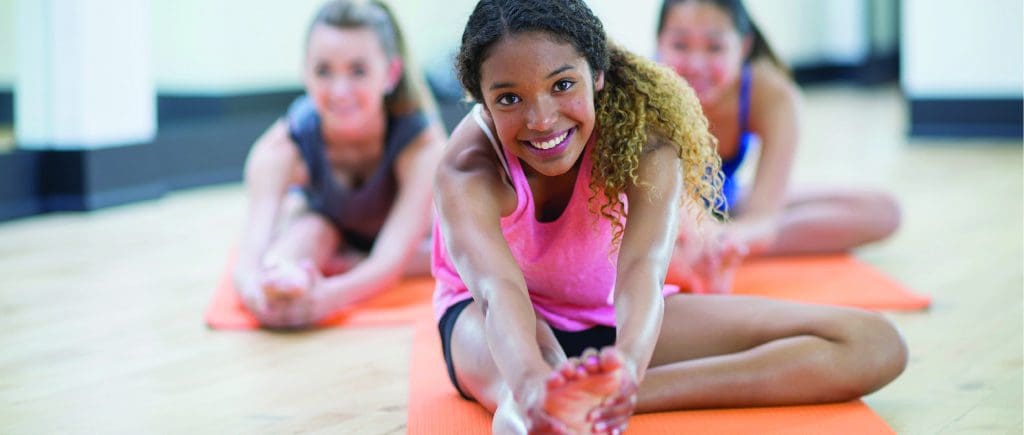
Stretching routines for flexibility are an excellent low impact physical activity for students in physical education and athletics.
Whether you are looking to help students with tight muscles from sitting behind a desk all day or athletes in need of recovery, these stretching routines for flexibility are a perfect fit!
Each session begins with a brief introduction where we talk through the focus of each lesson. We will then move into the lesson, which is 20 minutes long, including 4-6 stretches for 2 or 2:30 minutes. Below are three sessions focusing on different muscle groups. Try them out today!
Lower Body Session
In this first session, we focus on our lower body muscles, specifically our hamstrings and quads. We will hold each stretch for 2 minutes. Check out the notes section below the video for notes on all our stretching exercises.
Sit and Reach (Seated Forward Fold)
The Sit and Reach is a popular stretch within Physical Education. We will start in a seated position with both legs extended out in front of us. Our feet and legs should be in contact with one another. From here, take a deep inhale through the nose, and on the exhale, slowly bend at the back, moving the hands down your legs, and your chest toward your thighs. Depending on your flexibility, you may not be able to reach past your knees, or you may be able to grab your feet. Find the best position for you and allow gravity to draw your further into the stretch during the hold.
There are two modifications to be aware of. First, if you have very tight hamstrings, you may want to bend the knees slightly to allow for a great range of motion and less demand on the hamstrings. Should you have a tighter lower back, we suggest sitting on prop to provide more room in the pelvis and a greater stretch to the hamstrings.
Saddle (Tall to Moderate)
We will start from hands and knees, with knees wide. From here, we will move into our Tall Saddle, sitting our butt back on our feet. Now, it is up to you on where your feet are positioned. Traditional Saddle would have the toes touching and the buttocks resting on the heels, but it is also ok to move the feet slightly apart and rest the buttocks between the feet. For some people, this may be the end range of what is comfortable for the Saddle. If so, this is where you should remain for the duration of this movement.
However, if you can tolerate it, the next variation of the Saddle is to lean back with arms supporting the torso. This increases the stretch in our target areas.
Single Leg Forward Fold - Right & Left
We will start from hands and knees, with knees wide. From here, we will move into our Tall Saddle, sitting our butt back on our feet. Now, it is up to you on where your feet are positioned. Traditional Saddle would have the toes touching and the buttocks resting on the heels, but it is also ok to move the feet slightly apart and rest the buttocks between the feet. For some people, this may be the end range of what is comfortable for the Saddle. If so, this is where you should remain for the duration of this movement.
However, if you can tolerate it, the next variation of the Saddle is to lean back with arms supporting the torso. This increases the stretch in our target areas.
Twisted Lizard - Right & Left
Twisted Lizard is a variation of our Spiderman. Start from all fours. Bring your right foot forward and outside your right hand. From here, slide the left knee back slightly, to feed the stretch into the Quad. While your left hand remains planted on the ground, take your right up and over the right knee and behind the right Glute (buttocks) as you bring your left foot to your left Glute. Continue to rotate the trunk to allow your right hand to grab your left foot. Once you have a hold of your left foot, gently pull it towards the left Glute to hit a deeper stretch through the left Quad and Hip. Hold for desired duration and then repeat with the left leg forward.
Upper Body Session
In the next session, we focus on our upper body muscles, specifically our shoulders, back, arms, and wrists. We will hold each stretch for 2 minutes. Check out the notes section below the video for notes on all our stretching exercises.
Saddle Archer - Right & Left
Archer can be performed from a seated cross shin position, or a tall saddle. For today, we will start in our tall saddle. From here, reach your right arm up and overhead, bringing you hand down behind your neck with your elbow pointed to the ceiling. Next, bring your opposite hand back behind your lower back and reach the hand up. You are attempting to interlock your hands behind your back.
If this is not possible, we suggest using a band, towel, or strap to connect the hands. If those instruments are unavailable, you can bring your off hand above your right elbow and apply gentle pressure. This will isolate the stretch to the right tricep, but that is ok, as it is our primary muscles group for the stretch.
Thread the Needle - Right & Left
Thread the needle is a variation of our Puppy Dog pose, so as we move into position, be sure to keep your hips high, and stacked over the knees. From all fours, take the right arm and reach it under and behind the left arm. Sink the chest to the floor, resting your right cheek on the floor. Your off hand can extend in front of you.
Child’s Pose
From a kneeling position, touch your big toes together behind you and widen your knees. Bring your chest toward the ground as your buttocks drives back and rests on your heels. With your chest to the floor, extend your arms forward, in line with your shoulder.
Saddle Eagle - Right & Left
We will start in our Tall Saddle. From a kneeling position, rest your buttocks back on your heels, or between your heels. Keep a proud chest with a vertical spine. Next, we will bring our arms up with elbows bent at 90 degrees. Move the left forearm in front of your face, even with your nose. While maintaining the 90 degree elbow bend, bring the right arm underneath, attempting to interlock your forearms and hands.
Flat Thread the Needle - Right & Left
We will start in our Tall Saddle. From a kneeling position, rest your buttocks back on your heels, or between your heels. Keep a proud chest with a vertical spine. Next, we will bring our arms up with elbows bent at 90 degrees. Move the left forearm in front of your face, even with your nose. While maintaining the 90 degree elbow bend, bring the right arm underneath, attempting to interlock your forearms and hands.
Wrist Stretch
From a kneeling position, the placepalms down flat on the floor, fingers point forward. The individual then GENTLY transitions their bodyweight on to the arms and leans forward. Only go so far as to get a comfortable stretch about that wrist joint. After a time here, we relax then rotate the fingers to the side and repeat, leaning side to side. Lastly, the individual turns the fingers back towards the body (underside of the forearm facing forward). Be easy here, you will feel a somewhat intense stretch of that forearm with little movement required.
Full Body Session
In the final session, we focus on our lower and upper body muscles. We will hold each stretch for 2 minutes. Check out the notes section below the video for notes on all our stretching exercises.
Supine Twist - Right & Left
Starting by lying on your back. (Remember supine means on our backs!)
Next, bring the knee to the chest in a gentle hugging motion. After your hug, drape your hugged knee over the opposite leg.
You can either T or cactus out your arms. Option to put your hand on the bent knee to help deepen the twist. Option to gaze over your opposite shoulder to bring the twist into your cervical spine
Keep both shoulder blades in contact with your mat! Let gravity pull your leg over to deepen the twist. If we are over-rotating, one of our shoulder blades might come off the ground, which is a sure-fire sign we have gone too far! Reestablish contact with the mat and try again!
Supine Split - Right & Left
Exhale and lie on your back, stretching the legs and the shoulders. Press the heels firmly and point the toes downwards to feel that extra stretch at the quadriceps and calves, to warm up. Inhale and raise the right leg taking it to 90 degrees, extending the foot upwards.
Two Leg Twist - Right & Left
Begin by lying on your back, feet on the ground for your starting position. Lift your feet off the floor, knees together and feet together and open your arms out to the sides.Exhale to slowly lower both legs to the left. Keep your knees at about hip level and at a 90-degree angle. Open your arms out to the sides and encourage your right shoulder to soften toward the ground.
Twisted Cross - Right & Left
We will start in a prone position, lying chest down. Extend the right arm straight out to the side to 90 degrees. From here, bring your left leg over and behind your right leg. Place the left arm on the floor. You can use this off hand to push further into the stretch or brace yourself as you lean away from the stretch to lessen the sensation.
Cross Shin Eagle - Right & Left
We will start in our Tall Saddle. From a kneeling position, rest your buttocks back on your left and right heels, or between your heels. Keep a proud chest with a vertical spine. Next, we will bring our arms up with elbows bent at 90 degrees. Move the left forearm in front of your face, even with your nose. While maintaining the 90 degree elbow bend, bring the right arm underneath, attempting to interlock your forearms and hands.
Key Takeaways on Stretching Routines For Flexibility
Stretching routines for flexibility are a fantastic addition to your daily routine. While the videos in this blog showcase full sessions, you can easily add these static stretches into your day, even for just 30 seconds! While 30 seconds might not feel like a lot, it can go a long way when you spend most of your day sedentary.
Add these stretching exercises to your daily activities and you will be feeling better throughout your day!