[vc_row][vc_column][vc_video link=”https://youtu.be/YGb0-7d_LQc”][/vc_column][/vc_row][vc_section][vc_row][vc_column][vc_separator][/vc_column][/vc_row][vc_row][vc_column][vc_column_text]

Share this article:

🚨 Students stay engaged when they can actually SEE progress.
Confidence grows when students experience success, not stagnation.
That’s why individualized training and clear progressions matter:
✅ Students build ownership
✅ Small wins stay motivating
✅ Workouts feel
Health and PE teachers hearing schools say they want to improve student mental health… 👀🥎😂
…and quietly thinking:
“Yeah… movement, wellness, confidence, stress management, and healthy habits.....”
Real health and physical education creates space for:
🧠 stress management
🚨 Not every student connects with traditional PE.
And that’s okay.
Modern PE should expose students to different ways to move, build confidence, and discover activities they actually enjoy. 🙌
When students find movement experiences that connect with them:
✅ participation
🎉 Free Webinar for Elementary PE Teachers!
📅 Wednesday, July 15th at 1:00 PM ET
Looking for fresh ideas to make fitness more engaging in elementary PE? Join us for practical, ready-to-use activities that get students moving, having fun, and building lifelong fitness skills.
🚨 Complex doesn’t always mean better.
📈 The basics build better athletes.
✅ Purposeful training
✅ Clear progressions
✅ Individualized development
✅ Athlete buy-in
🏋️ Explore more high school strength & conditioning resources:
https://hubs.li/Q04hYP4J0
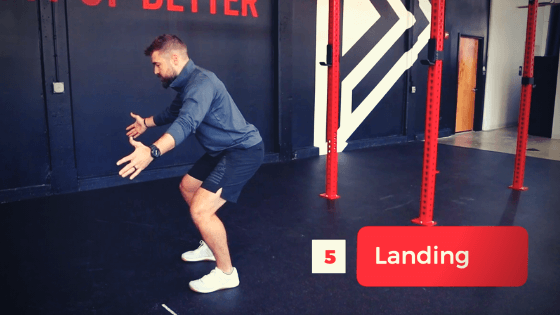
🚨 Great fitness lesson plans for high school students start with foundational movement skills and scalable progressions.
In this video, we take a quick look inside PLT4M’s Intro To Fitness program and explore how:
💪 movement demos
📈 push-up scaling
🏋️ pull-up progressions
🧠


