The barbell back squat is an excellent movement for students to learn and develop. Whether for athletic development or general fitness, the barbell back squat is one of the most effective exercises for developing muscular strength. But regardless of a student’s goals, barbell back squat form must be a top priority when executing the movement. This article will explore techniques and movement mechanics for great barbell back squat form.
Benefits of the Squat
There are many squat variations like the bodyweight squat, goblet squat, front squat, and back squat. Everyone should be doing some form of squats because they work the entire body.
Studies show squatting to increase lower body strength can produce the following benefits:
Better functional mobility and faster walking speed
Greater bone mineral density and less chance of breaking a bone
Stronger core musculature to prevent lower back pain and injury
Better sports performance on the court or field
Faster running speed at short and long distances
Greater vertical jump height
Free Guide to Teaching Weight Training
Get proven strategies to build and improve your school’s weight training program.

Barbell Back Squat Form Starts With An Air Squat
If barbell back squat form is our top priority, then we must consider the foundational elements of the basic movement pattern. One of the most common mistakes in middle and high school strength training is jumping right to the barbell. Instead, we only ever introduce the barbell back squat after mastering the original pattern of the air squat. (Often taught through introductory fitness lesson plans)
The 4 universal points of performance for any squat movement pattern are:
Entire foot in contact with the ground
Lumbar curve maintained
Knees tracking toes
Hips descending below parallel (hip joint below the knee joint)
After students have mastered proper air squat form, a popular next step is to begin loading the movement via a goblet squat. This can be a great next step to introducing resistance and preparing students for the barbell back squat.
Barbell Back Squat Form – From Start To Finish
Once students are ready to learn the barbell back squat, it is crucial we break down every part of the lift. (As we should with all intro to weight training lesson plans.)
When we think about the barbell back squat form, we should consider all the different factors that go into the movement, not just the lift itself. These different elements of barbell back squat form include:
Set up
Execution of the lift
Returning the bar to the set-up position
Safety and Failing
We emphasize all aspects of barbell back squat form because we are working with students, not competitive powerlifters. For the barbell back squat to be successful, we want to develop and prioritize proper form and technique at an early age. Doing so can encourage safety and confidence through excellent barbell back squat form – start to finish.
Quick note: You may see other programs and trainers utilize a low bar back squat. While this is also a great tool for pure strength development, we feel the low bar squat variation is difficult to perform well by new students. It often turns into some sort of good morning/squat hybrid that goes against all of our movement tenets. Thus, we aim first to master the high bar squat when training our students and athletes.
Set-Up:
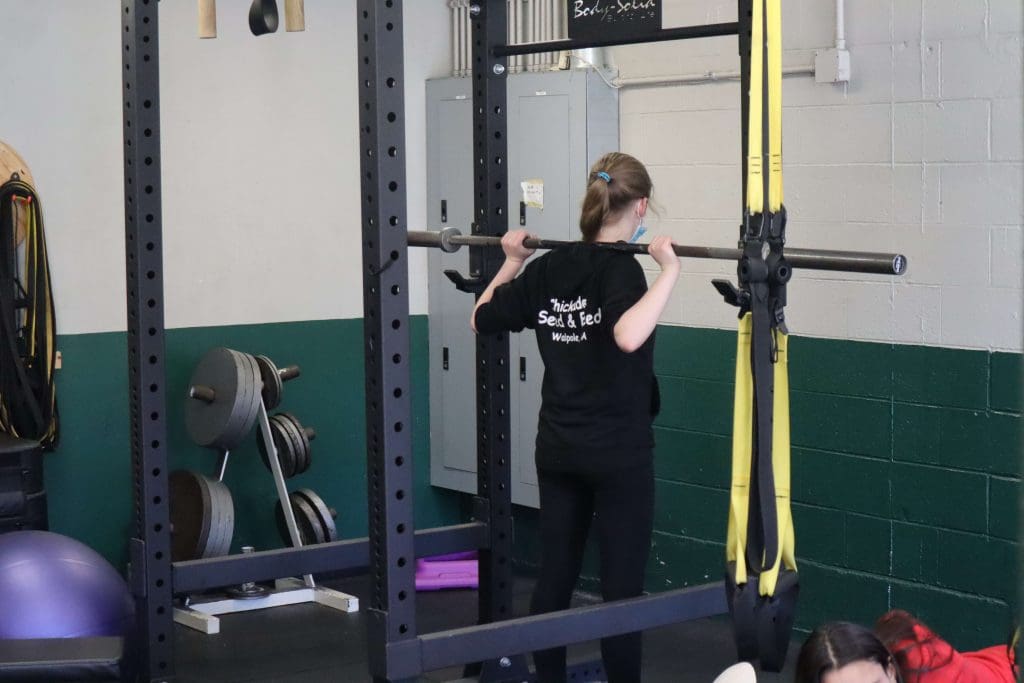
Our first step is getting the rack set up. After getting the J-hooks and barbell into the right place, we want the barbell to be at sternum height. This is essential so students can safely get the bar in and out of the rack.
Next, facing the rack, students should take a double overhand grip just outside the shoulders (or wider, depending on shoulder mobility).
Now, students step under the bar, positioning the bar on top of the actively engaged traps, which create a shelf to rest the barbell. From here, students should have a soft knee and a symmetrical stance directly under the bar.
Finally, students are ready to stand out of the rack. Standing to full extension, students should walk backward a couple of steps away from the squat rack, avoiding hitting the J-hooks.
From here, students should assume a proper stance, feet shoulder-width apart. This piece can be altered to a wider stance or narrow stance, depending on the students’ height, mobility, etc.
Execution:
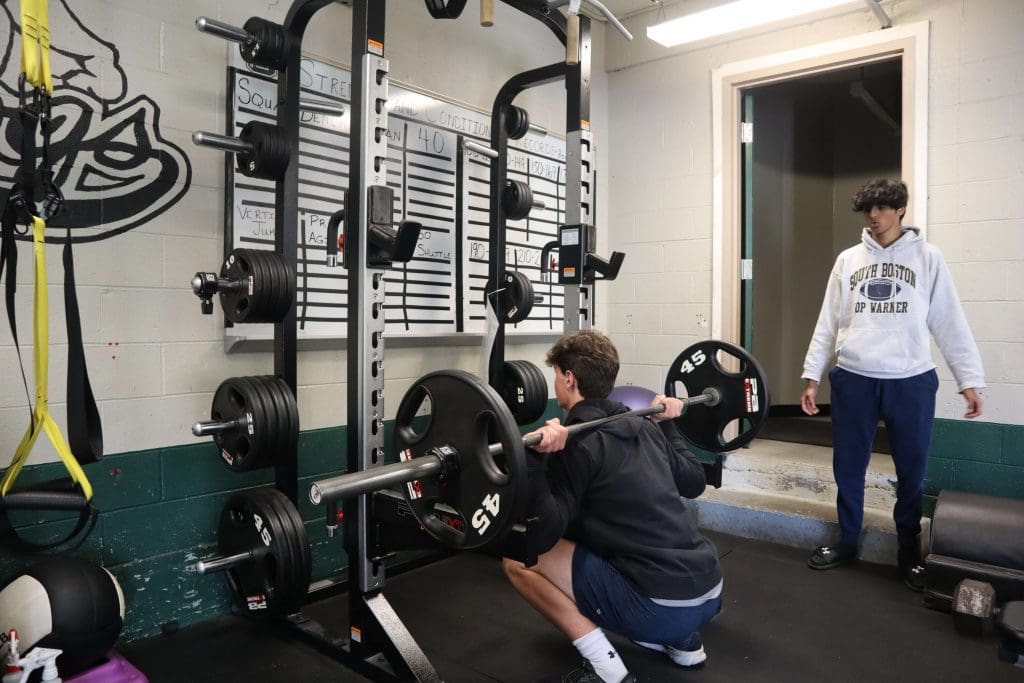
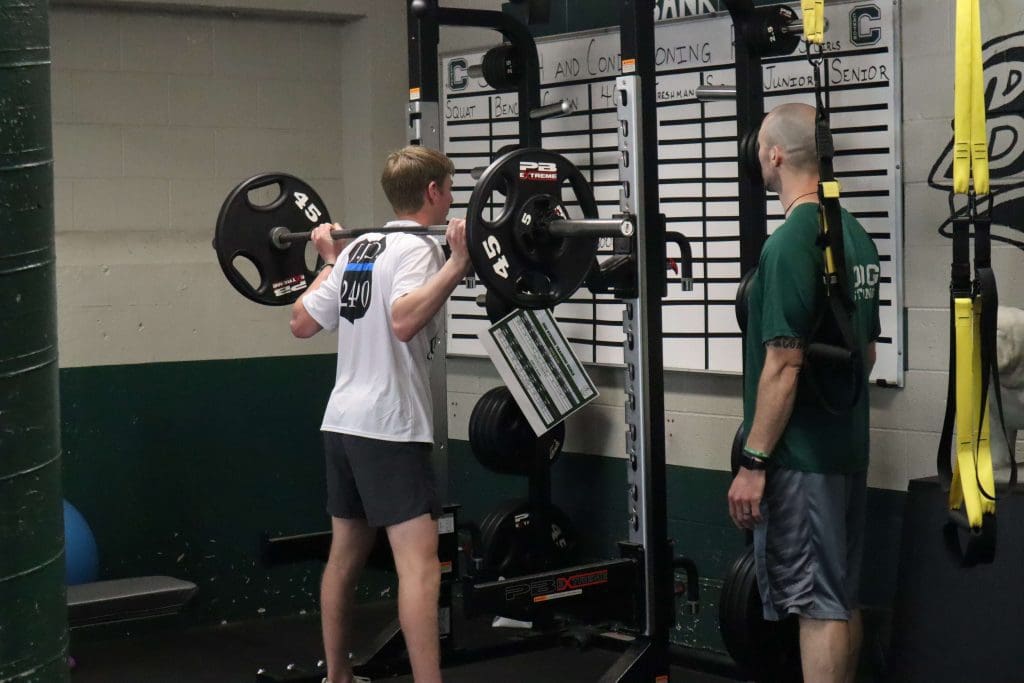
Now to the fun part of barbell back squat form. Again, all four universal points of performance should exist for any squat movement, but now we introduce the additional element of the barbell.
Students will unlock their hips and descend back and down to start the movement. Then, rotating the hips open, the knees drive out over the toes.
An important piece now with a barbell is that the spine must stay neutral. Focus on a neutral eye gaze, a strong core, and hips engaged.
Our goal is to achieve a full-depth squat, meaning the hip joint below the knee. The depth can be modified for students with mobility issues. Then, driving into the ground, maintaining all points above, students return to full extension.
For some students, this will be plenty of moving parts to think about. However, if and when students are ready, they can also focus on a deep breath at the top of each rep and an exhale as they complete the movement.
Ready to Learn More?
Schedule a free 10 minute consultation to see how the PLT4M system can help save you time, and empower student learning!

Returning The Bar To Set Up Position:
After completing the number of reps assigned, students now have to return the bar to the rack safely. This is an important piece of barbell back squat form because many students will rush this step and risk potential injury.
Upon completing the set, the students walk back into the rack until the bar hits the j-hooks (not by leaning forward). Then, he or she softens the knee and allows the bar to settle back into the hooks before stepping out from under the bar.
Safety and Failing:
When it comes to strength training with barbell movements, we must also begin to pay attention to a new and very important aspect of the lift. That is how to safely “fail a lift.”
As we add weight and challenge ourselves, we introduce the real possibility of reaching the limit of our ability in any given rep or set. Simply put, the weight may be too heavy to complete a rep safely and with good barbell back squat form. That is okay! While we don’t want to see failure intentionally or regularly, it can happen.
As such, we must prepare to fail safely. First and foremost, students should always lift with supports. The supports should be placed about two inches below a full-depth squat. If a student reaches failure, they should drop back with control to the supports. Once the bar safely hits the supports, students can bring their hips down and chest forward at the end.
Using supports should be our first choice and always used when possible. Alternatively, spotting is possible when a teacher or coach has taught the process of a 3-person spot. But this should only be utilized with experienced students and when the weights are heavy.

Common Pitfalls of Barbell Back Squat Form
While we just detailed everything for good barbell back squat form, we know proper form with students will not always happen. Common pitfalls of barbell back squat form include:
Foot movement – rotation, heels up, etc.
Knee cave
Rounded back or non-neutral spine
Complete lack of depth
If we see barbell back squat form suffering at any point, we should step in. For some students, it will be a quick fix or adjustment. But as many students start moving from empty barbells or light weights to heavier weights, we might see form falter. If at any point, this does happen, we stop our students, drop the weight and correct the movement before adding heavier weight back into the equation.
Key Takeaways on Barbell Back Squat Form For Students
Historically the barbell back squat has been viewed as an exercise for athletes. But every student can develop overall strength and reap the benefits of building muscle through effective barbell exercises like the back squat. The basic components of strength training benefit all students!
Introducing this movement doesn’t mean every student will work towards one rep maxes and heavy squats. Instead, it gives students another tool in the toolbox to promote lifelong health and wellness. For some, that means pursuing a strength training program for athletic development; for others, it means feeling comfortable getting into the squat rack occasionally. But for everyone, it has to start with an understanding and mastery of barbell back squat form.
Ready to Learn More?
Schedule a free 10 minute consultation to see how the PLT4M system can help save you time, and empower student learning!